📙 You will learn
How to export a Netsparker Enterprise report and import it into ThreadFix.
Prerequisites
Audience: IT Professional or End User
Difficulty: Basic
Time needed: Approximately 5 minutes
Tools required: N/A
Date Format
Before exporting a scan to be uploaded into ThreadFix, ensure Netsparker Enterprise account's Date and Time Format (in User Settings) is set to either dd/MM/yyyy or yyyy-MM-dd (not MM/dd/yyyy).

Generate Results
Navigate to an application's Scan Summary page (e.g., on the left sidebar, expand Scans, then click Recent Scans, and from the ensuing list, click the Report button for the scan to export).
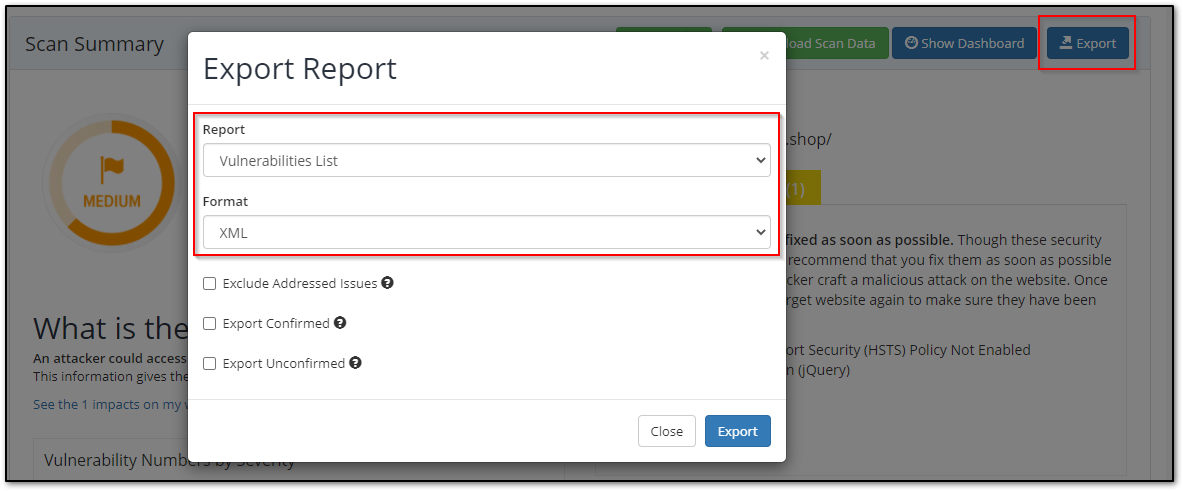
In the Scan Summary page, click the Export button. Within the Export Report modal, select Vulnerabilities List as the Report and XML as the Format. The three checkboxes below may be left unchecked, click the Export button, and save the scan file.
Upload Results
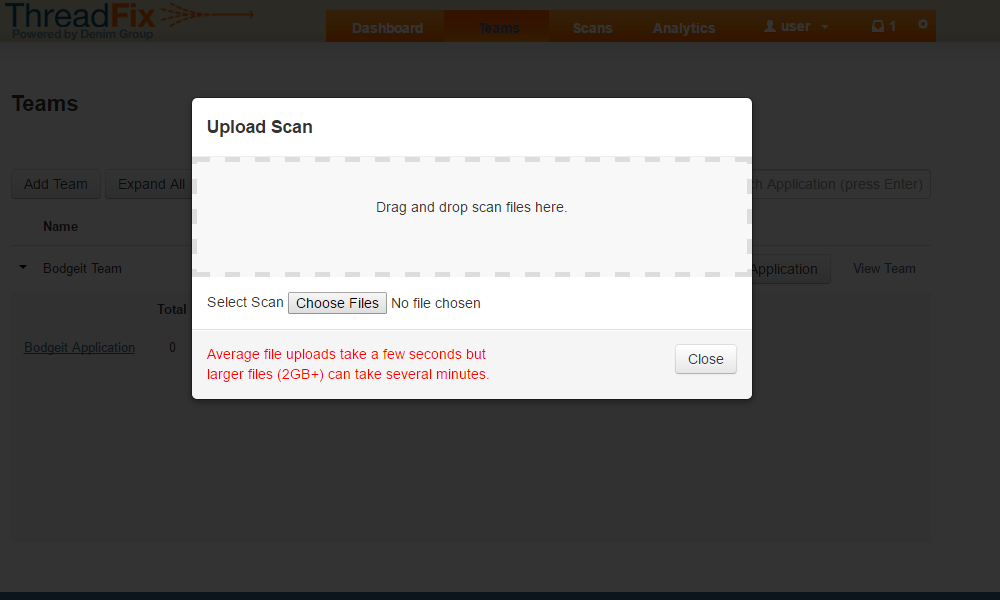
After generating the report, log in to ThreadFix and navigate to the application to upload the scan. Drag & drop the report into the page, or click the upper Action menu button then select Upload Scan and drag & drop it or click Choose Files to browse for it.
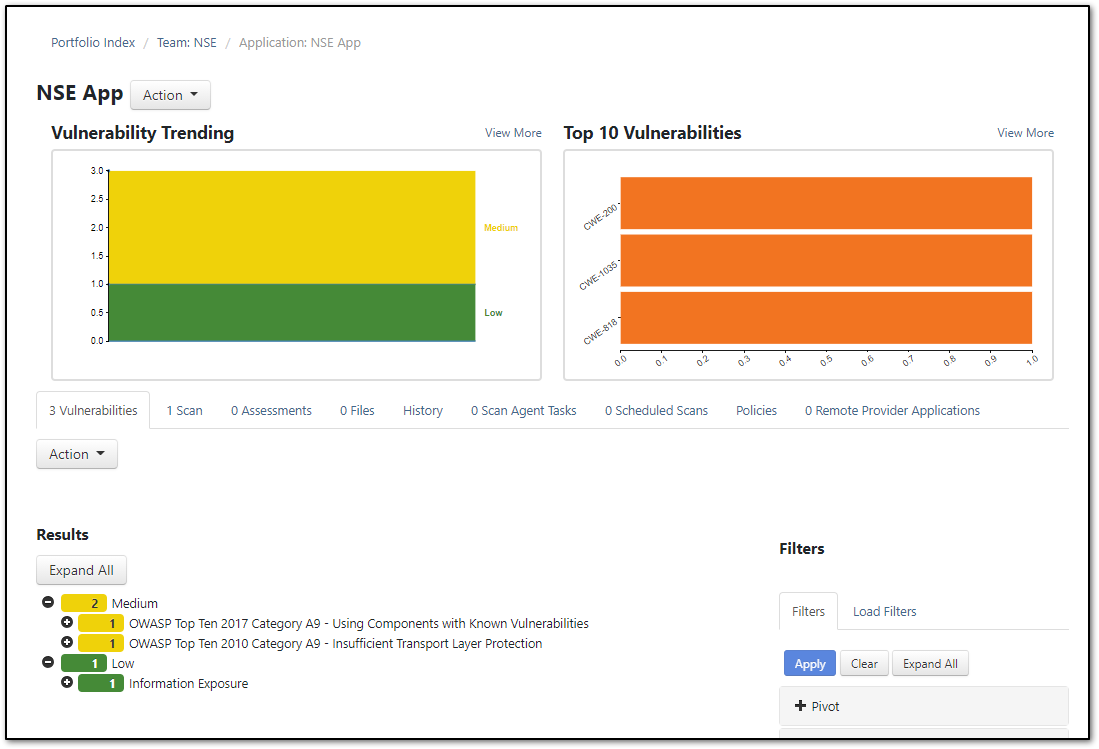
Once ThreadFix has finished processing the report, the results can be viewed on the application's page: