...
📙 You will learn
How to quickly create and edit scan and/or application metadata keys.
Prerequisites
Audience: IT Professional or End User
Difficulty: Basic
Time needed: Approximately 5 minutes
Tools required: N/A
Create Metadata Keys
Within the Metadata Keys page
...
...
...
Click either of the Create…Keys buttons to create the desired key.
Example:
...
Add Metadata
...
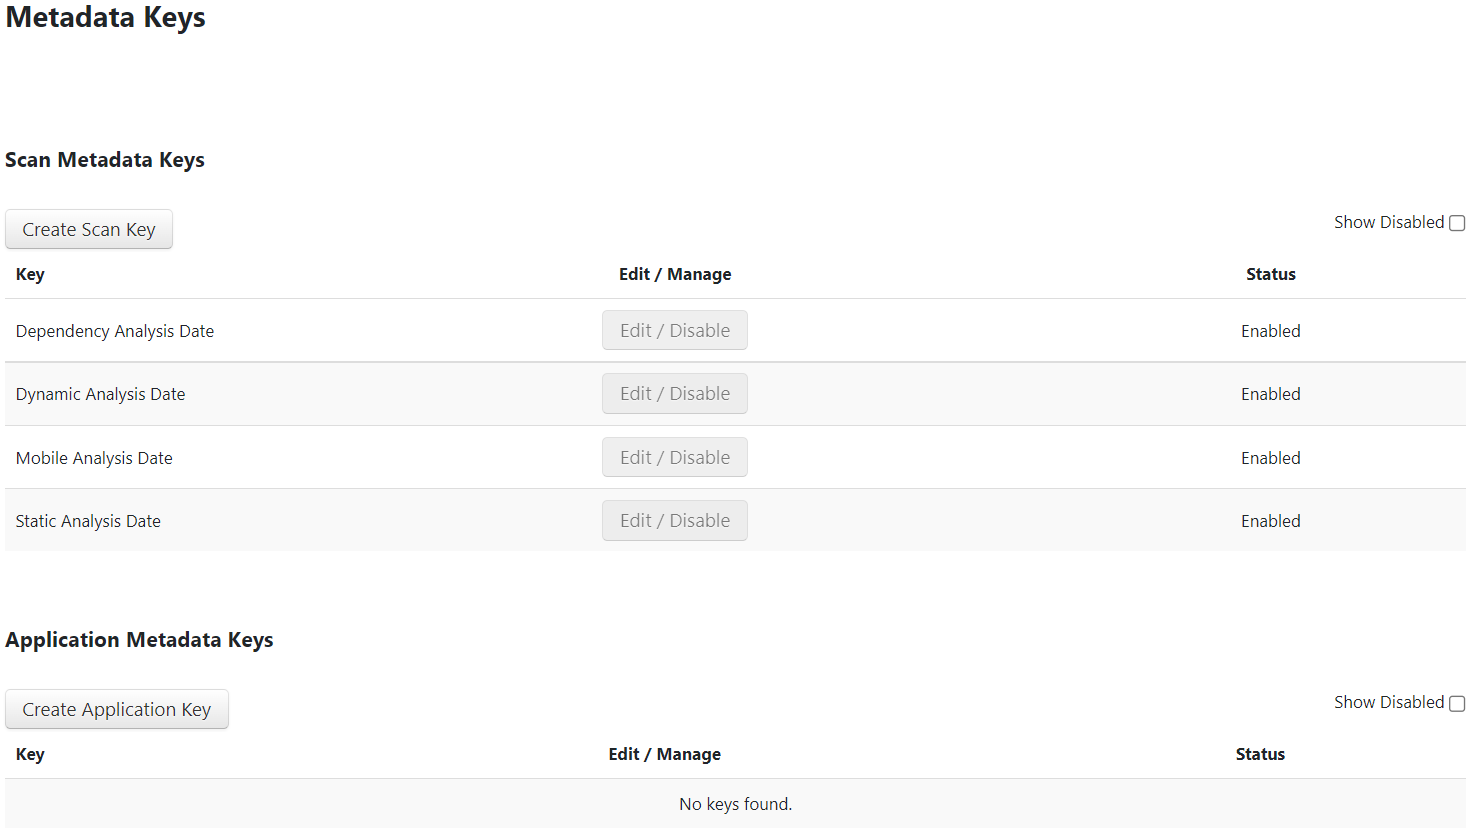
Application metadata keys for applications. Note the default Dependency Analysis Date, Dynamic Analysis Date, Mobile Analysis Date, and Static Analysis Date cannot be edited or disabled.
Click on the Application page from the Navigation sidebar, click to expand the Customize sub-menu and select Metadata Keys. The Metadata Keys page contains both a Create Scan Key button and a Create Application Key button.
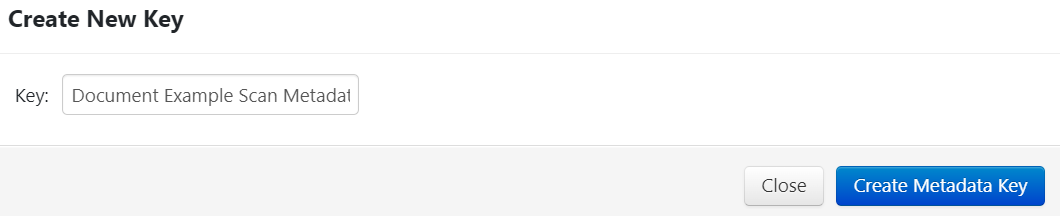
Click the Create Scan Key or Application Metadata Keys button to create the desired key. The example below shows a pop-up modal for creating a Scan Metadata Key. Enter a name for the key and click the Create Metadata Key button.
The key will be displayed under the appropriate category. To edit a key name, click the Edit/Disable button to display an edit menu. Rename the key as necessary and click the Save Edits button. To disable a key, click the red Disable button from within the edit menu.
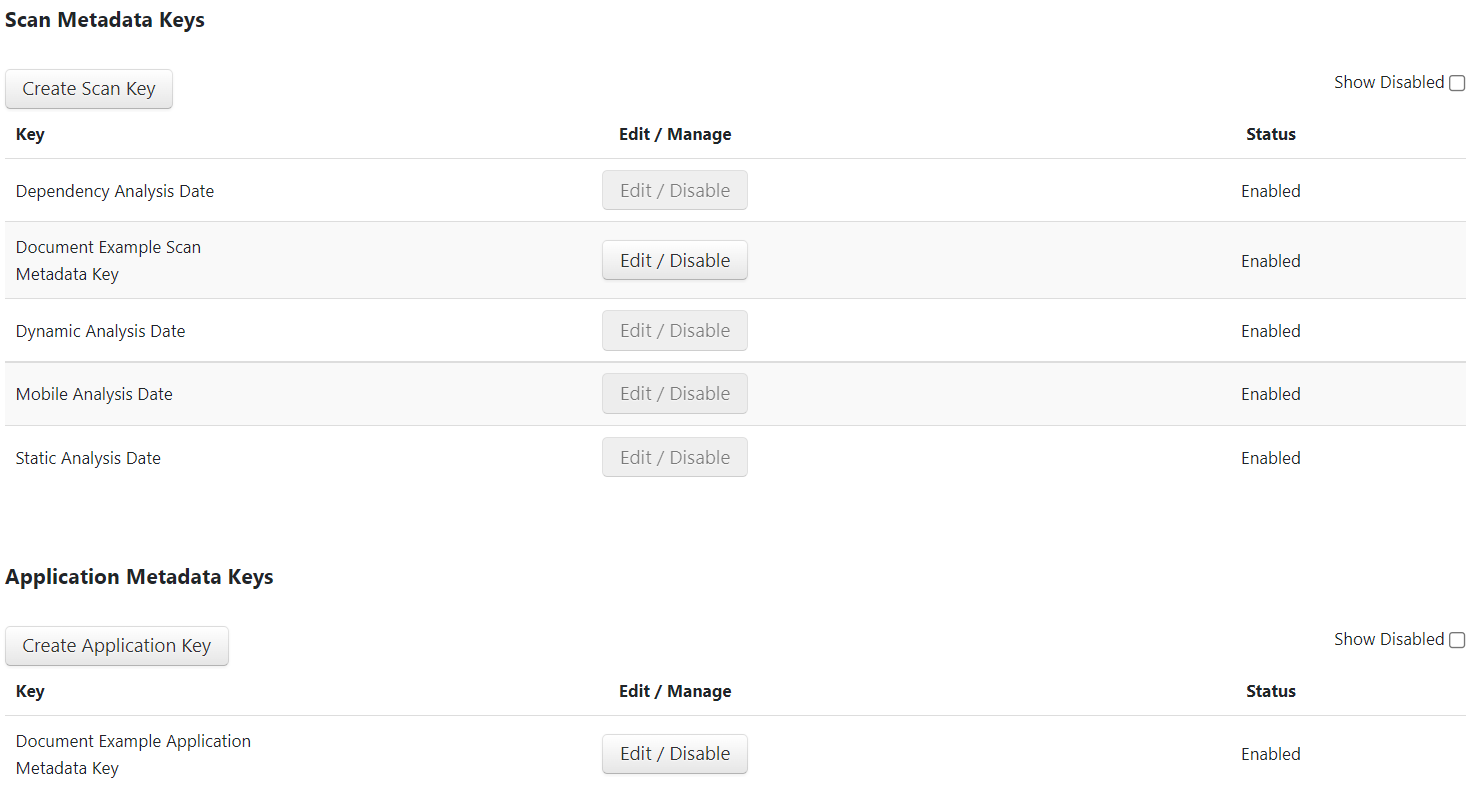
Keys that have been disabled are hidden from view automatically. To view a disabled key, click the Show Disabled checkbox.
Add Metadata
Users can add scan or application metadata within the Scan Details or Application Details page
...
...
...
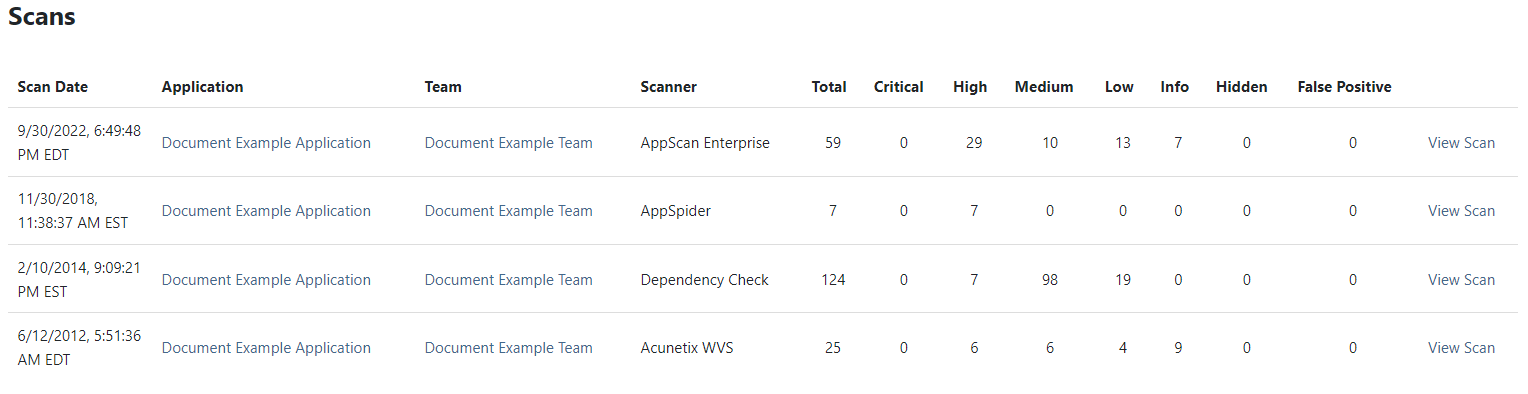
page from the Navigation sidebar to view a list of scans. Click on the View Scan link next to the desired scan.
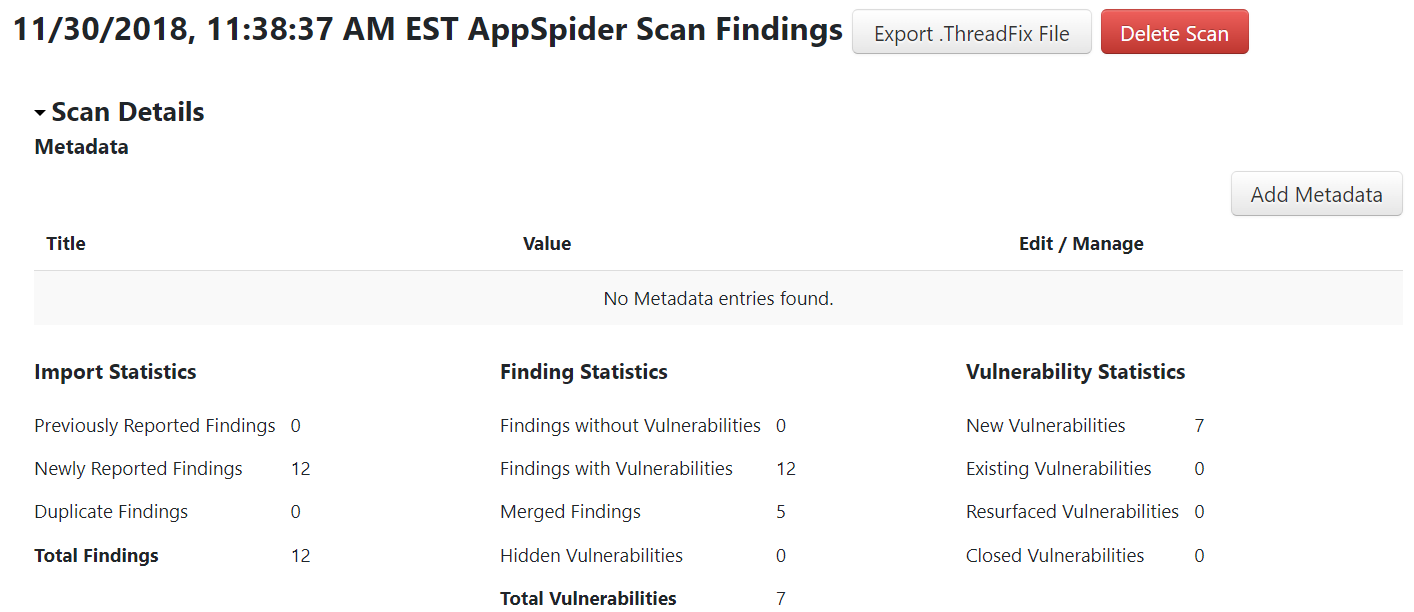
Click on the expanding arrow next to Scan Details.
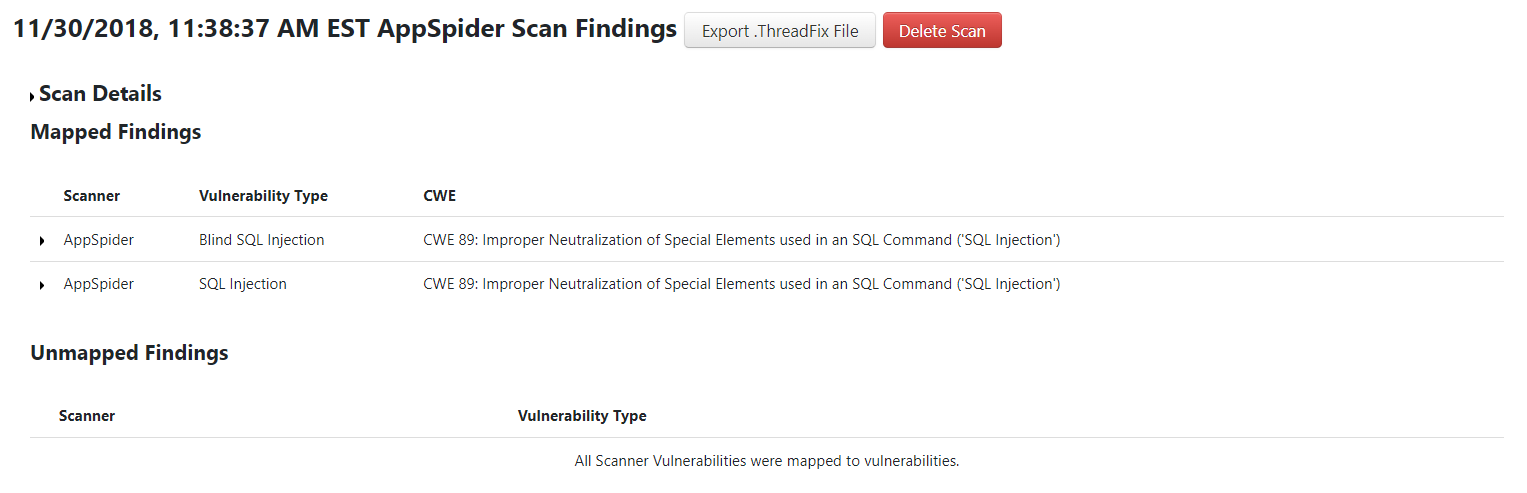
Click on the Add Metadata button.
...
See the highlighted image below:
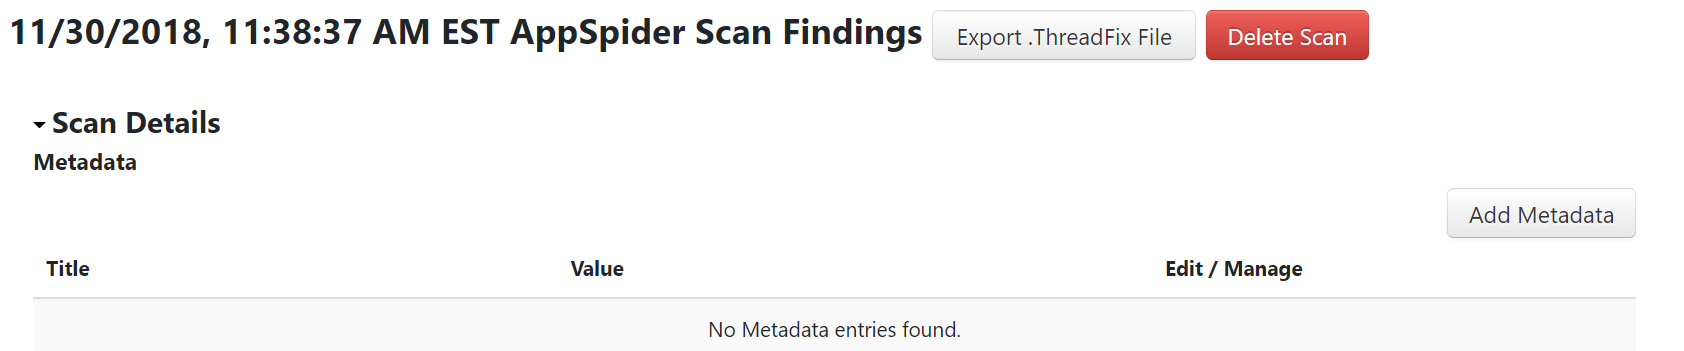
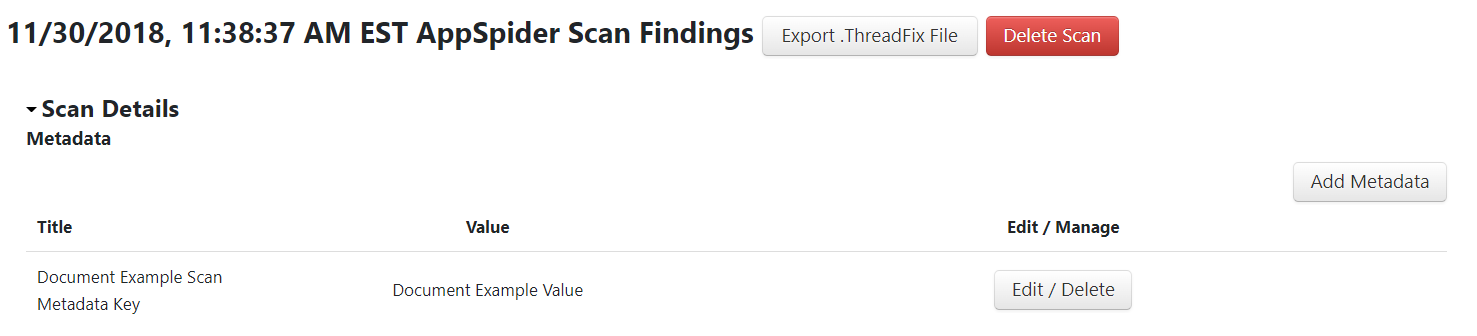
In the modal, enter the name of the desired key and click the Create Metadata button. The metadata value will be added to the scan and will display within its details.
...
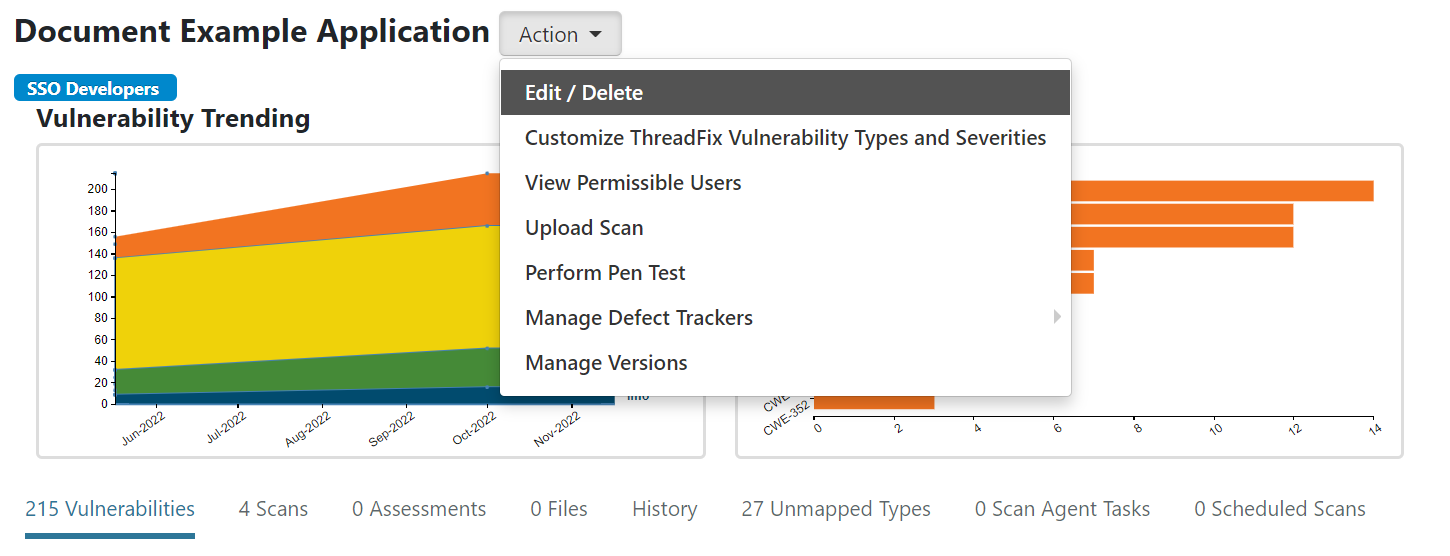
Application Metadata
...
...
...
...
drop-down list.
Within the Metadata Values section at the bottom, enter the desired application metadata for the desired key(s) and click the Save Changes button.
...
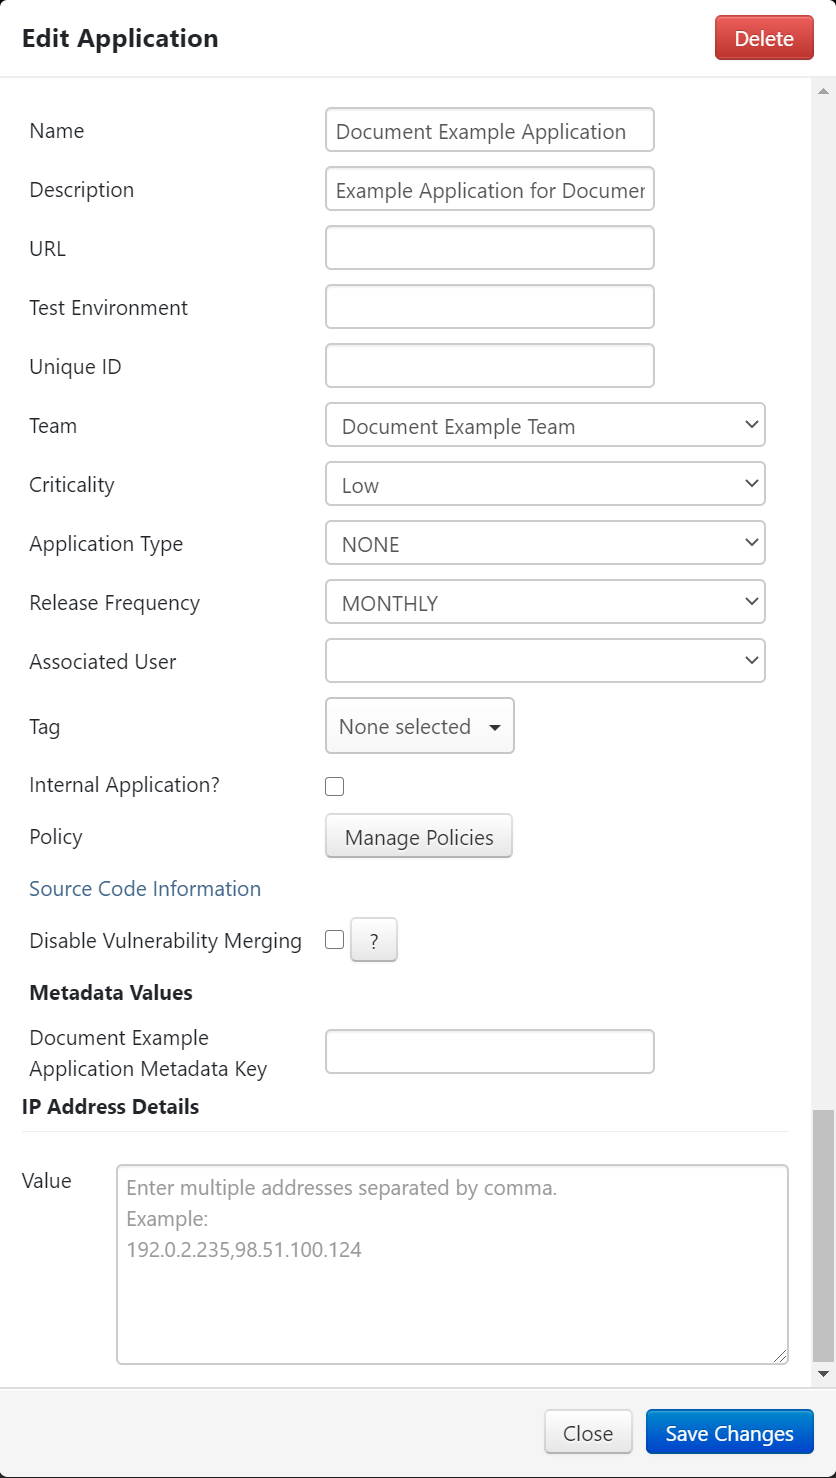
See the highlighted image below:

The metadata value will be added to the application and a success banner will display.

API
The above functions can also be performed via REST API.
Table of Contents
| Table of Contents |
|---|