📙 You will learn
How to create, submit, and update a Governance, Risk and Compliance (GRC) Tool.
Prerequisites
Audience: IT Professional
Difficulty: Intermediate
Time needed: Approximately 10 minutes
Tools required: N/A
Creating a GRC Tool
Currently, ThreadFix only supports supports ServiceNow for for Governance, Risk and Compliance (GRC) tool integration.
To create a new GRC tool,
from the Navigation sidebar expand the Application menu, and click to open the Integrations sub-menu. Select the GRC Tools page and click the Create GRC Tool button.

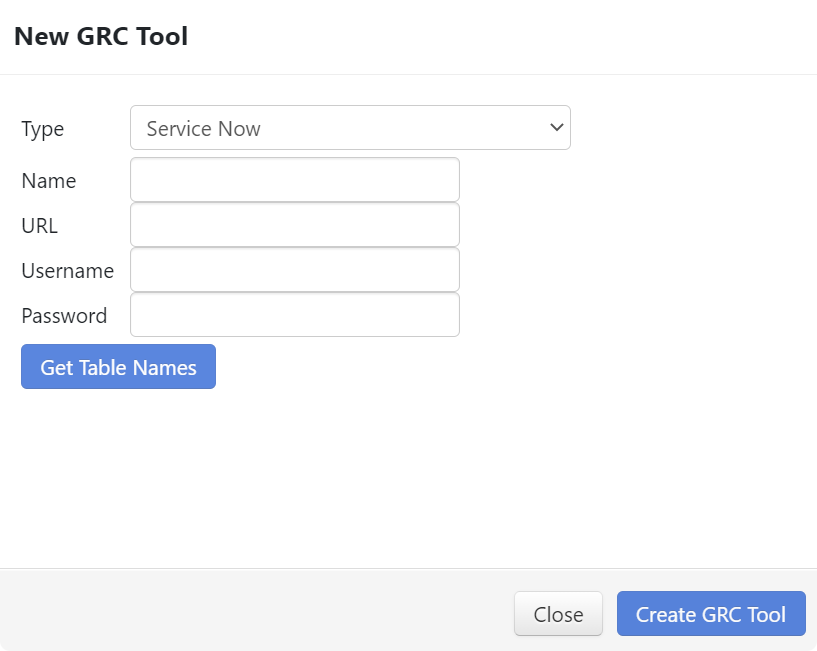
This will display
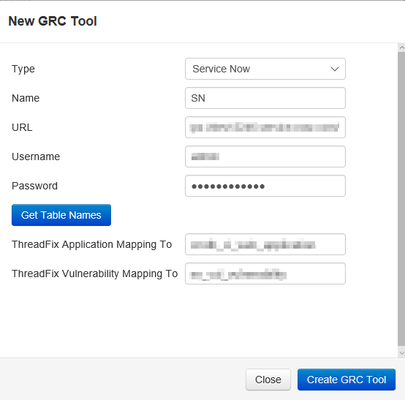
a New GRC Tool modal dialog
:
Fill in the Name, URL and credentials, then click the 'Get Table Names' button.
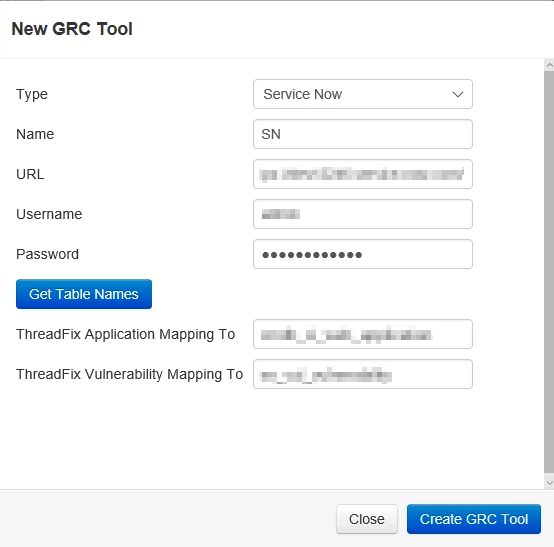
The URL and credentials are checked, and if accurate, you will need to fill in & select the 'ThreadFix Application Mapping To' and 'ThreadFix Vulnerability Mapping To' fields.
Click
the Create GRC Tool
button.
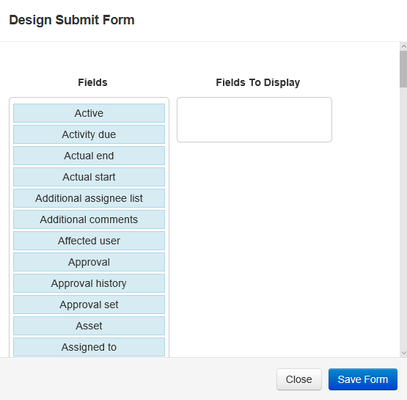
This will display
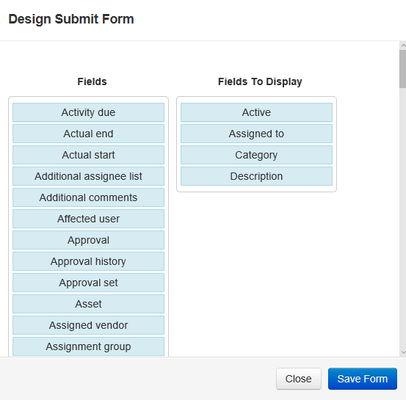
a Design Submit Form
modal, which lists all the fields available in
the GRC instance
.
To specify the fields
to include when submitting a GRC control, drag the desired fields from the Fields column to the Fields to Display column. Click the Save Form button.

In the example below, note the selected fields moved from the Fields column to the Fields to Display column.

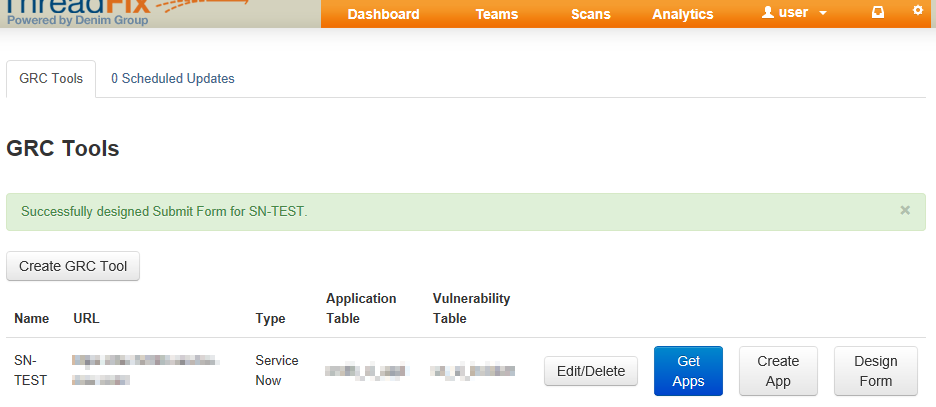
A success message
will display and
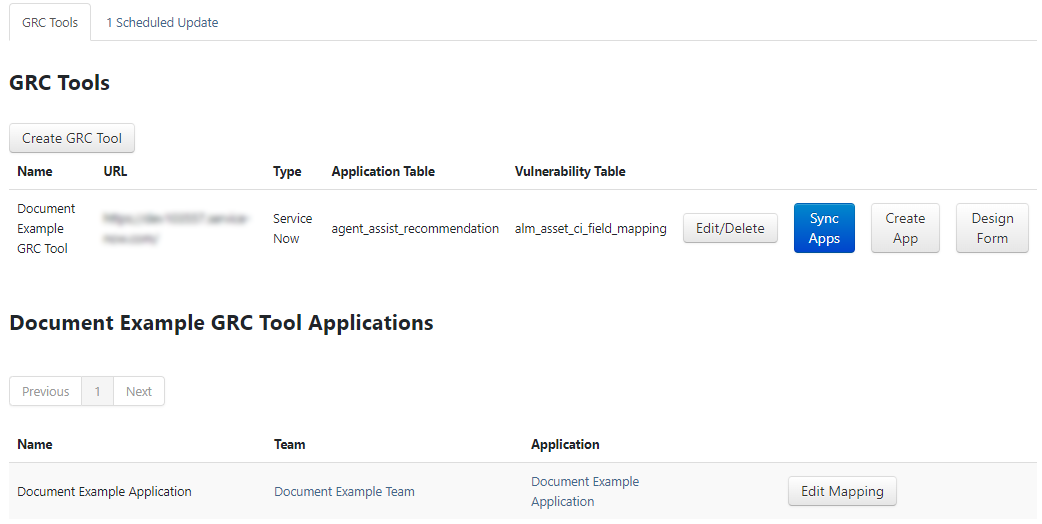
the new tool will be displayed in the GRC Tools list.
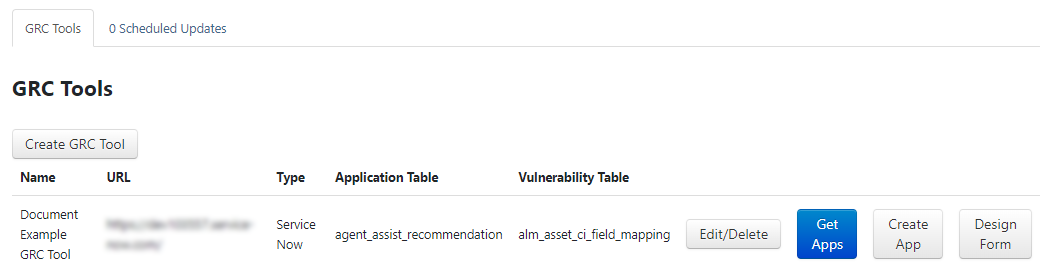
Next, click
the Get Apps
button. This will
gives a list of available ServiceNow Applications, as well as any existing mappings.
| Note |
|---|
Note that the the Get Apps button button is now named named Sync Apps. Going forward, this button adds/removes GRC applications that have been added/removed since the last sync. |
Creating a New GRC Application
To create a new application in your a GRC tool from ThreadFix and map an existing ThreadFix application to it, click the the Create App App button. This will display a modal dialog. Choose the team and application from the dropdown drop-down menus, and then click the the Save button button. 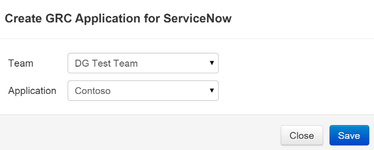
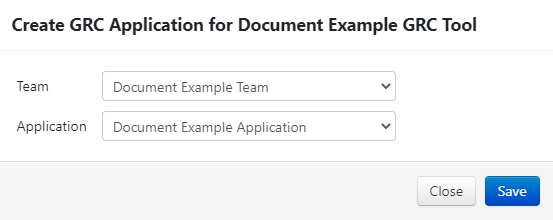
Your The new GRC application appears in the list: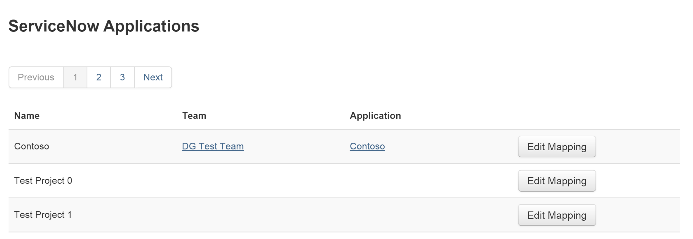
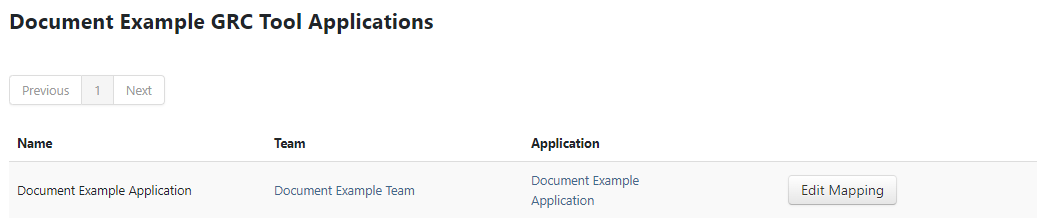
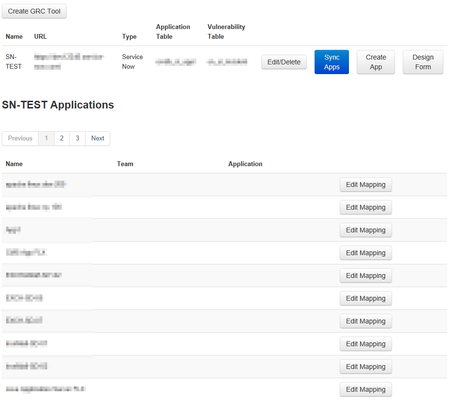
Creating and Editing Mappings
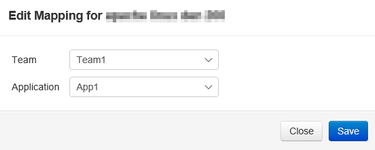
Click
the Edit Mapping
button in the row of the GRC application
to map to ThreadFix. Select the team and application
to map to and click
the Save
button.

Click
the Sync Apps
button to synchronize
the mappings with ServiceNow.
Scheduled Updates
You Users can schedule your GRC applications to update on a regular schedule . Click the with the following procedure:
Click the Scheduled Updates
tab.
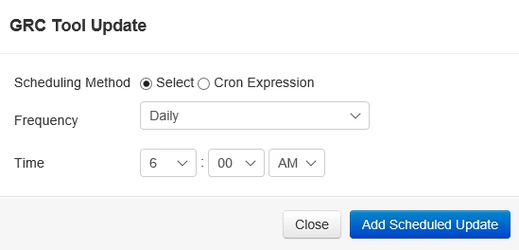
To create a new schedule, click
the Create Scheduled Update
button. A GRC Tool Update modal dialog appears. Choose between "Daily" and "Weekly" backups, select a time for the update to run, and click
the Add Scheduled Update
button.

The new schedule is saved and is displayed in the schedule list
as seen below.
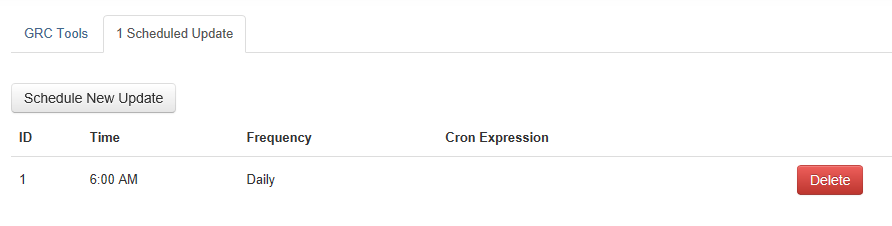
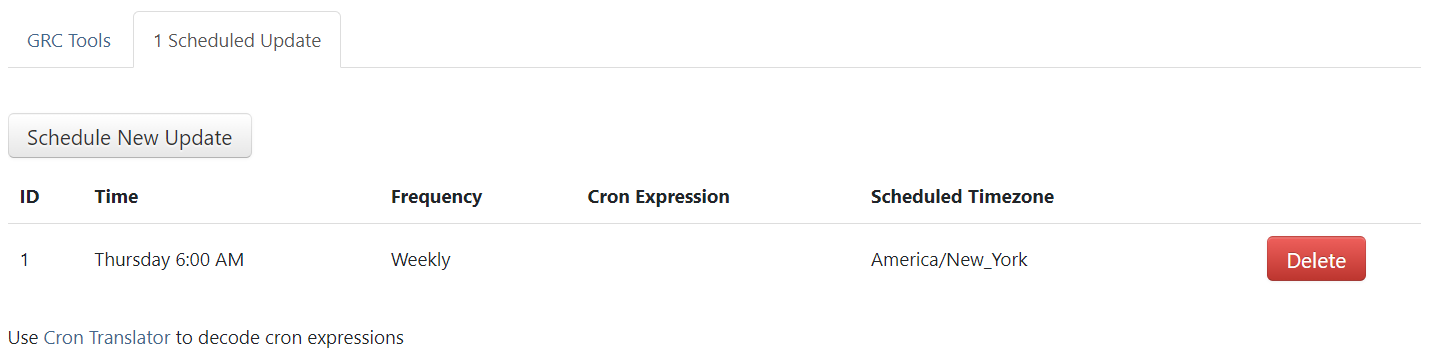
To delete a scheduled update, click the Delete button. You will be asked to the Delete button and confirm the deletion. A success message will be displayed, and your the scheduled GRC tool update will be removed from the display list.
Submitting GRC Controls and Updating Status
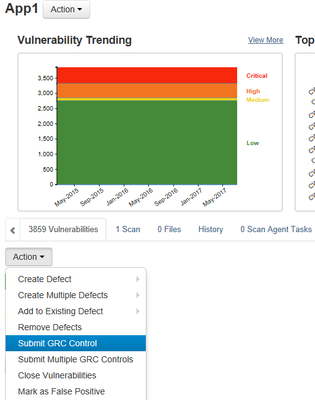
Now, if you users click on the application you have that has been mapped, you are users will be taken to the applications details for that application. Since the application is linked to a GRC tool, some new , GRC tool-specific actions appear...
Submit GRC Control
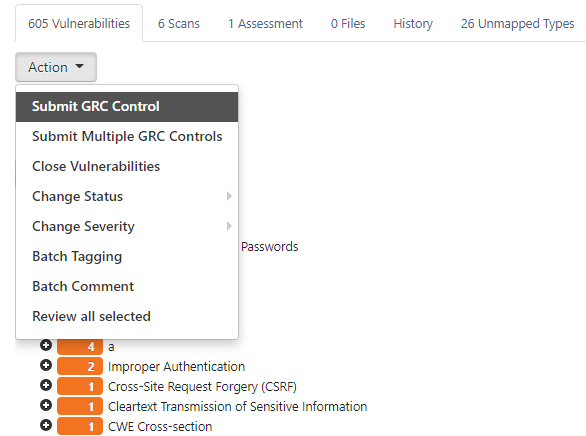
From the vulnerability tree, open a node, and select a vulnerability.
Click the Action drop-down menu and select Submit GRC Control (or
Submit Multiple GRC Controls).
ThreadFix will display a modal dialog with the vulnerability(ies) that it will submit. 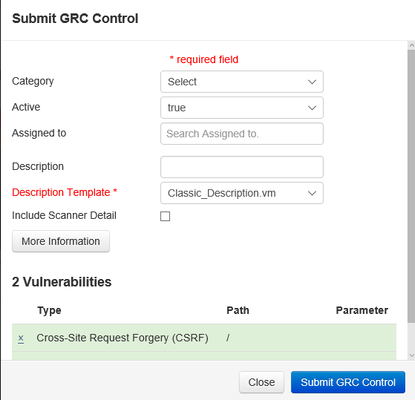
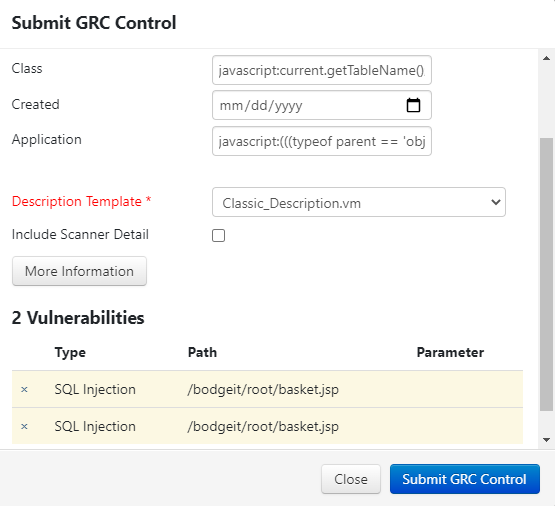
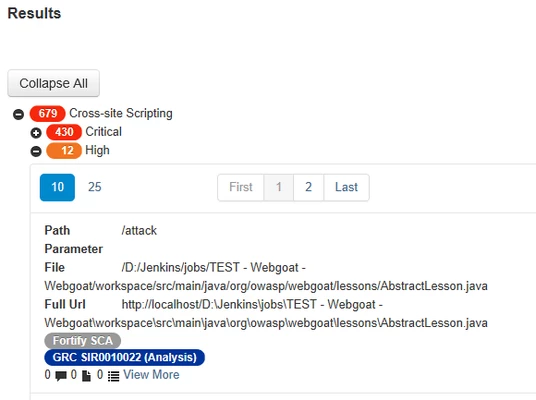
This will close the dialog and present you with a success message that the selected controls were submitted to the GRC tool. The vulnerability(ies) will have a badge reflecting the control number(s) submitted.
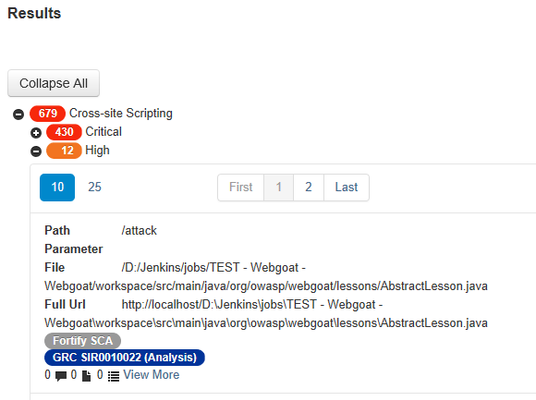
Clicking the badge will open the control in a separate tab.
Update GRC Status
From the top Actions dropdown drop-down menu, select select Update GRC Control Status.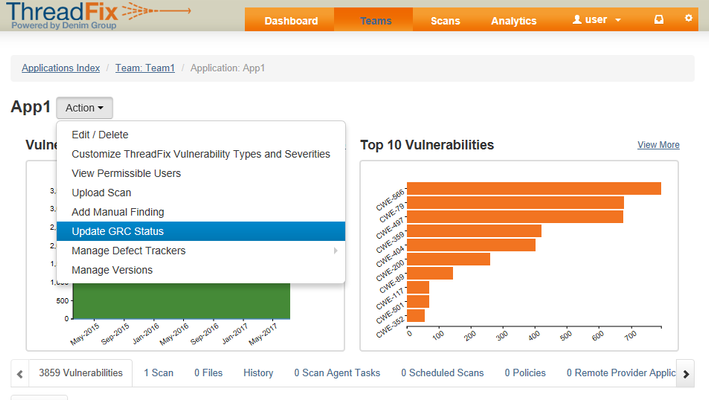
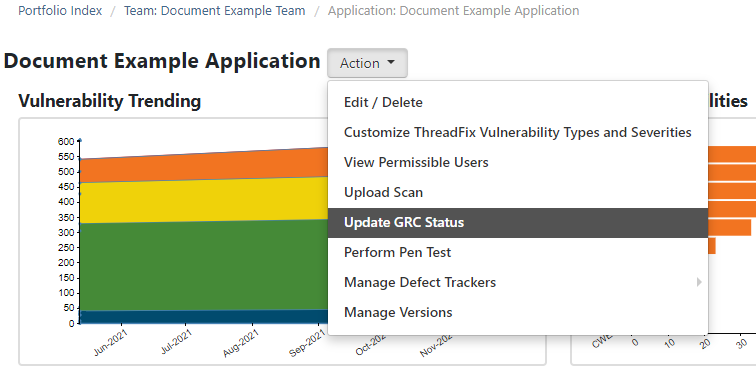
You ThreadFix will be presented with display a success message that your the update request was submitted to the GRC tool.
Table of Contents
| Table of Contents |
|---|