📙 You will learn
How to open/create, configure, launch, export, and upload an AppScan Standard scan.
Prerequisites
Audience: IT Professional
Difficulty: Basic
Time needed: Approximately 20 minutes
Tools required: N/A
Generate Results
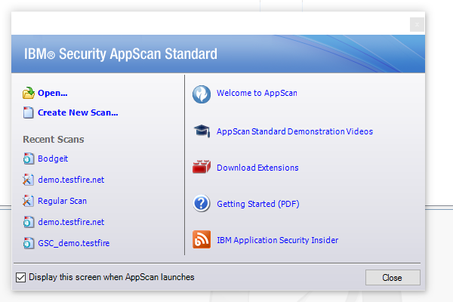
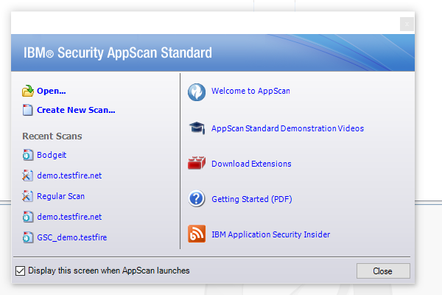
After launching AppScan, there are two options for obtaining results to generate a report:
Select Open and select an existing scan file.
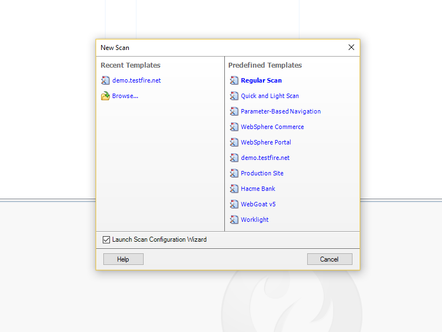
Select Create New Scan.
Select Regular Scan from the Predefined Templates.

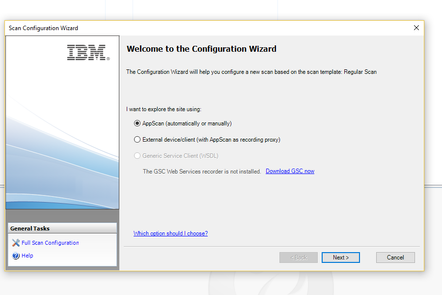
Select AppScan for ‘I want to explore the site using’ and click the Next button.

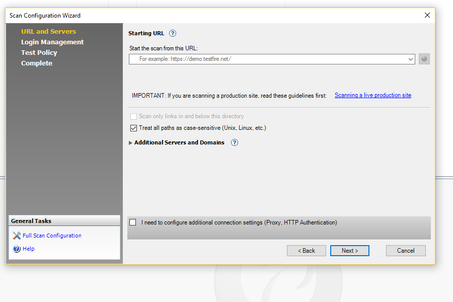
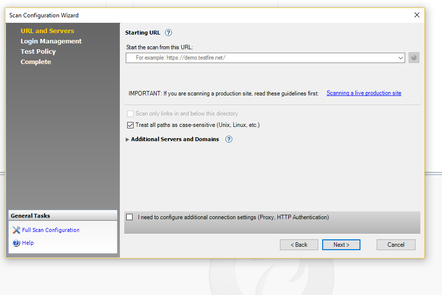
Enter the Target URL into the ‘Start the scan from this URL’ and click the the Next button.
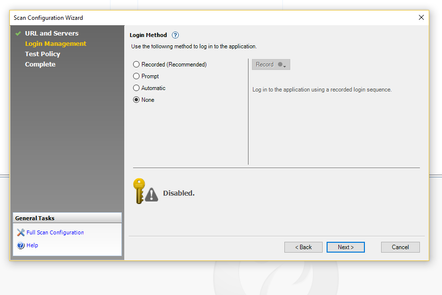
Select None for Login Method and select Next.

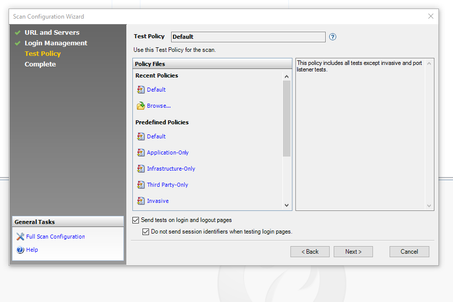
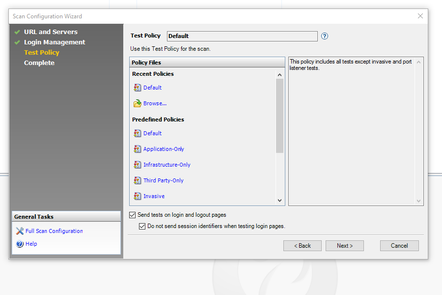
Select Default from the Policy Files and select Next.
Select Start a full automatic scan for ‘How do you want to start?’ and click the Finish button.
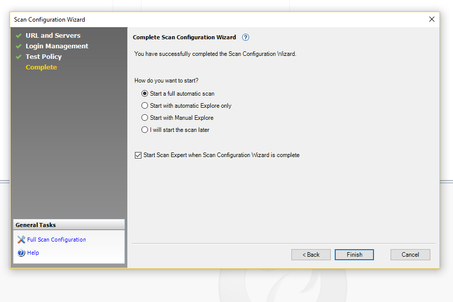

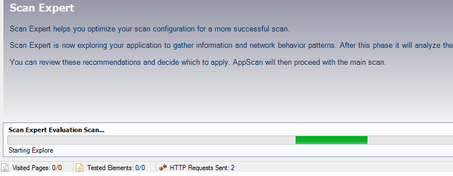
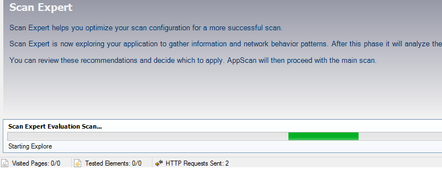
Allow the scan to complete.
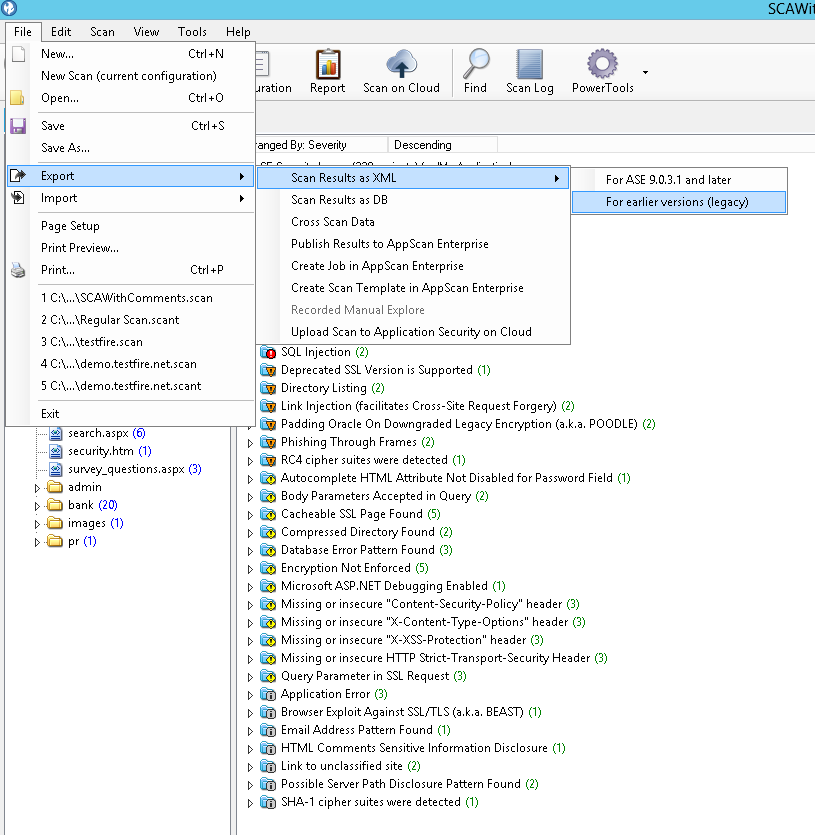
Exporting Results
ThreadFix only supports the Legacy XML export currently.
Select File → Export → Scan Results as XML → For earlier versions (legacy) and save the results to a trusted directory:
Upload Results
After generating the report, log in to ThreadFix and navigate to the Teams tab. Expand the Team that the report will be uploaded to:
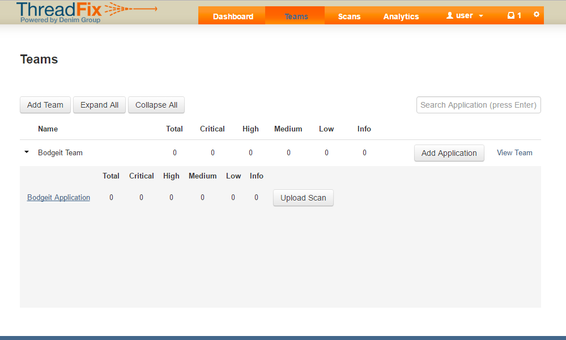
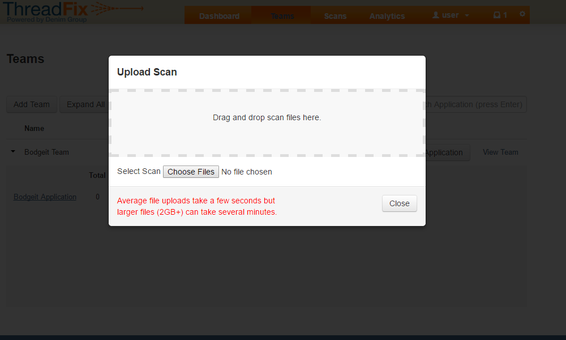
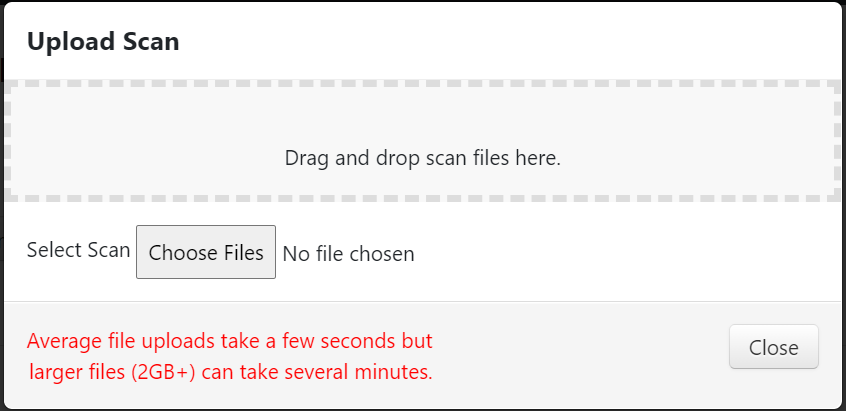
After picking one of the Team's Application, select Upload Scan and drag the report into the Pane:
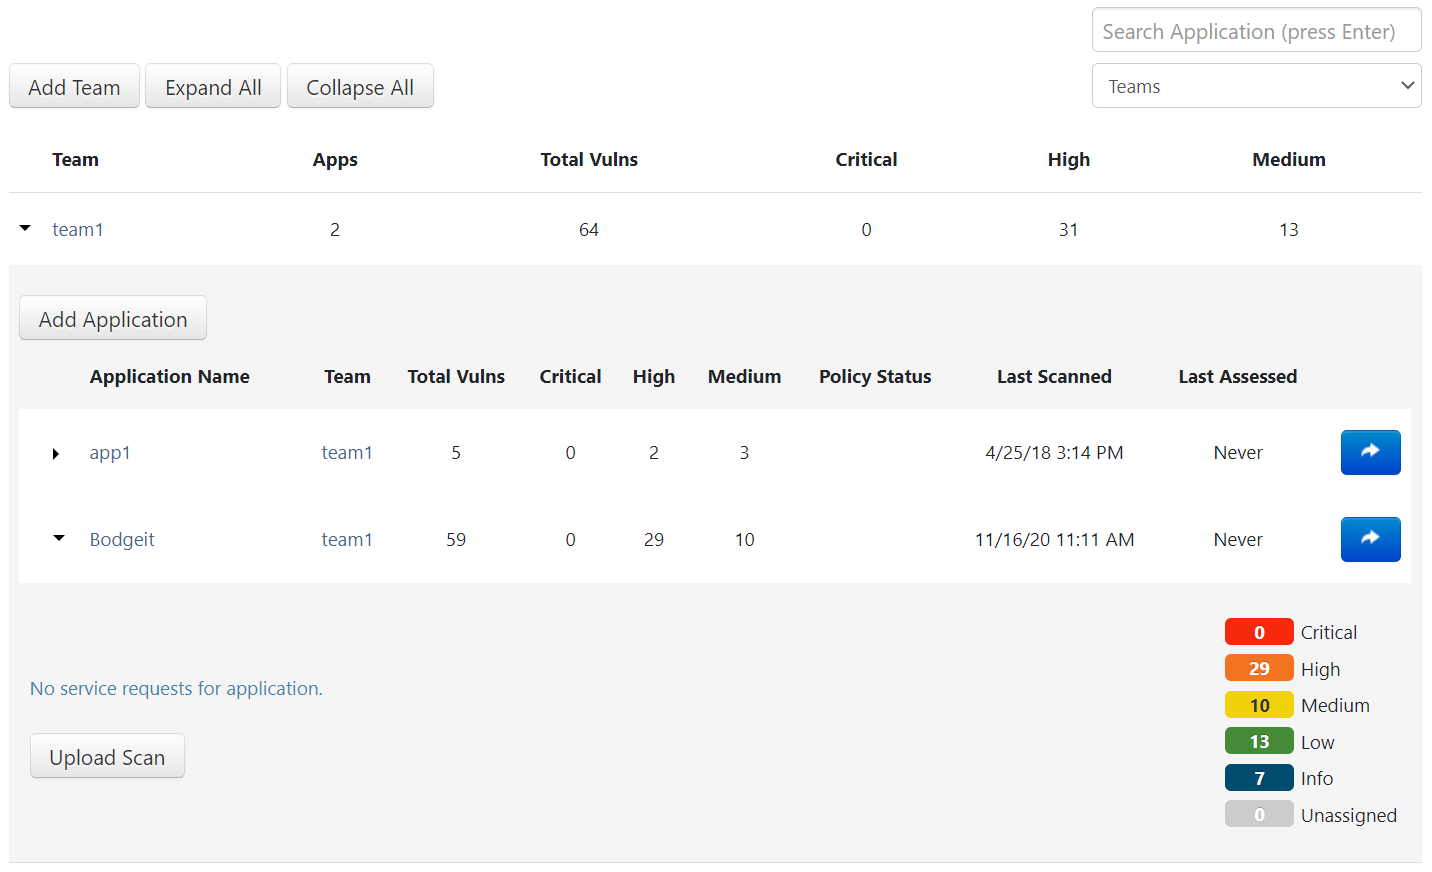
Once ThreadFix has finish processing the report, the results can be viewed on the Application's page:
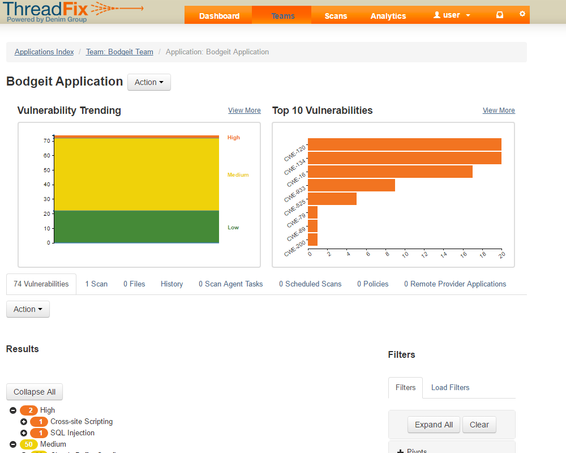
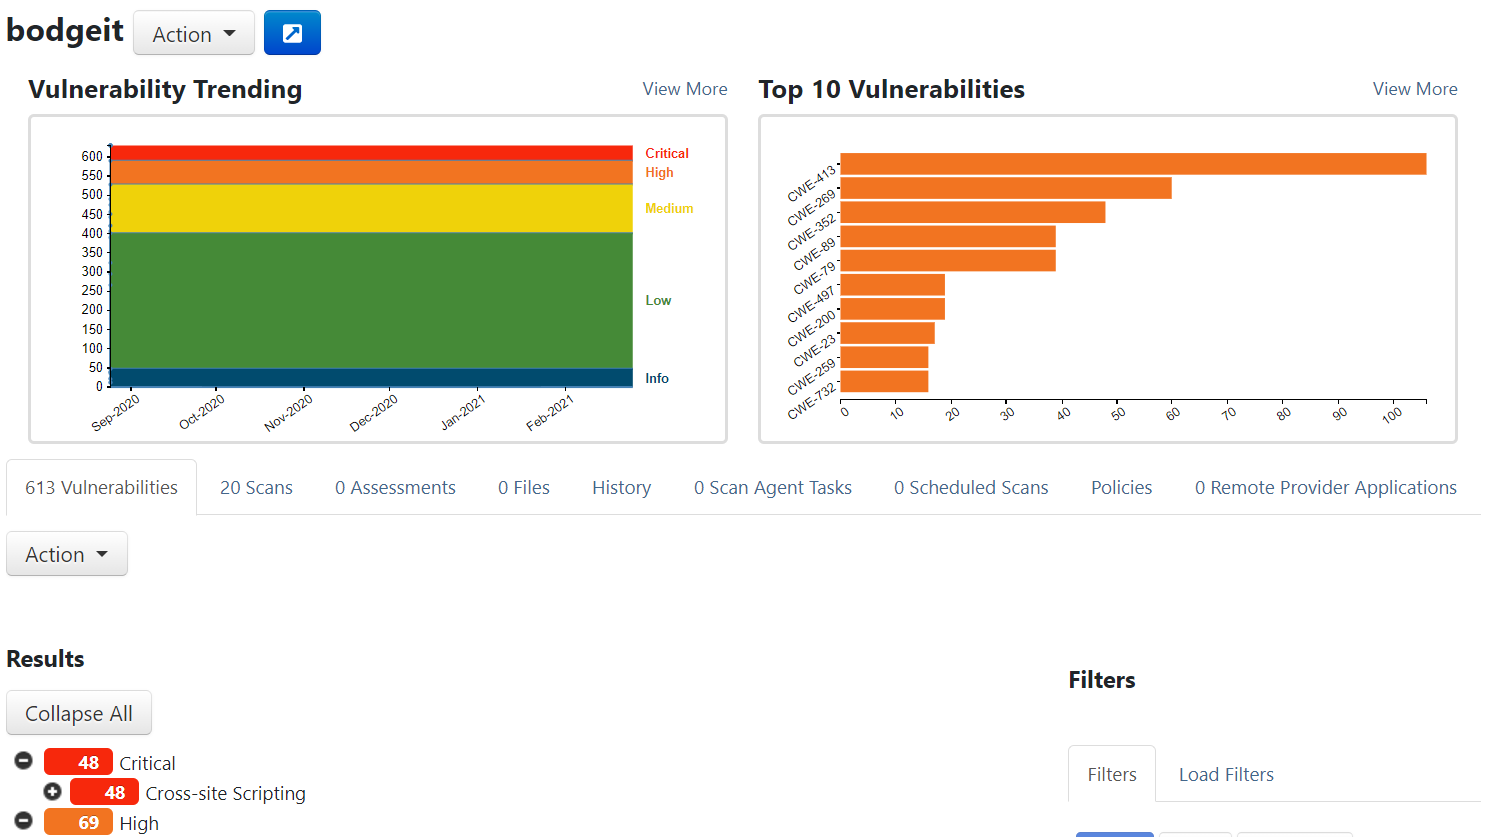
Table of Contents
| Table of Contents |
|---|