📙 You will learn
How to generate a Burp Suite report and upload it to ThreadFix.
Prerequisites
Audience: IT Professional
Difficulty: Basic
Time needed: Approximately 10 minutes
Tools required: N/A
Generate Results
After
...

...
...
...
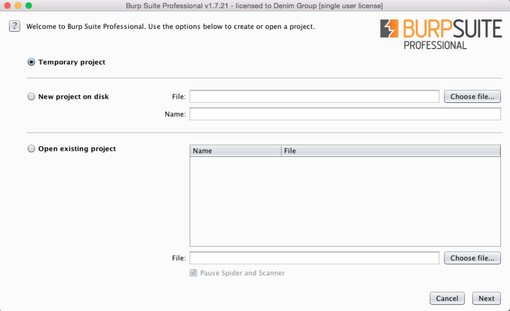
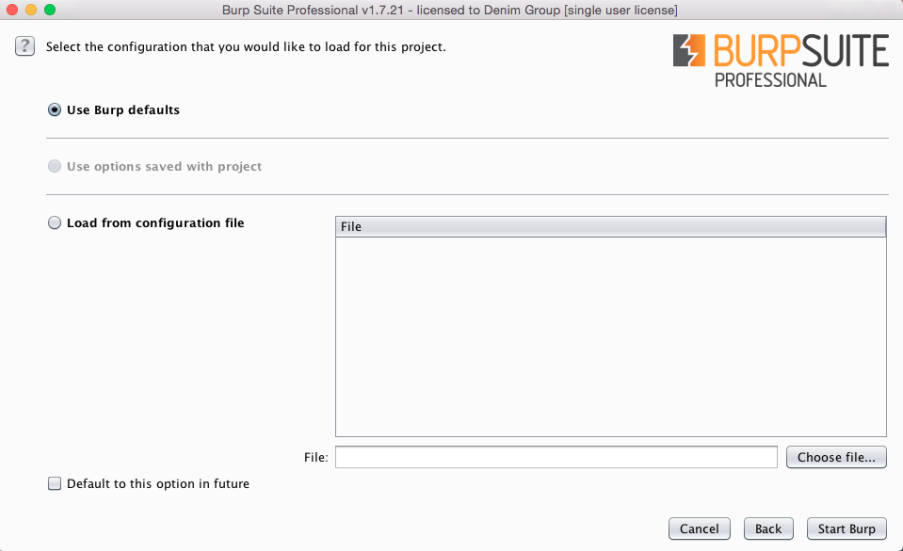
Select Use Burp defaults and select Start Burp:
...
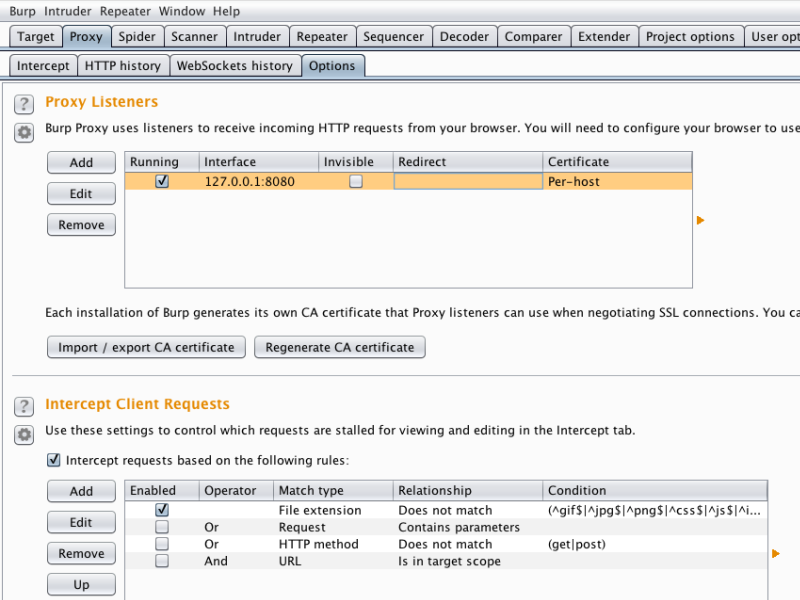
Select the Proxy tab and select the Options tab. Make sure the Proxy is running:
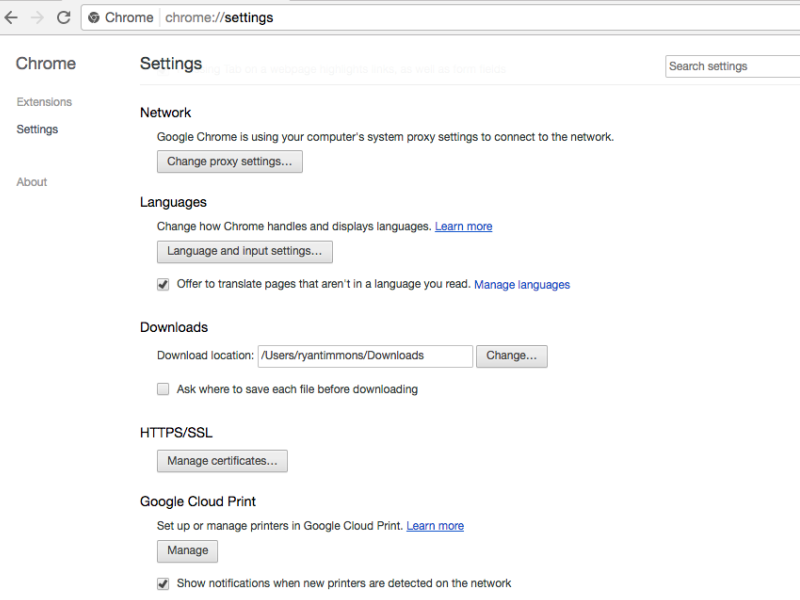
Open Chrome and set the proxy through the settings tab. Set the port to the one used in BURP:
...
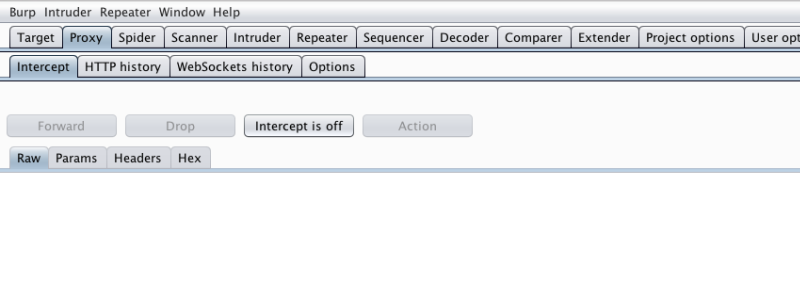
Select Intercept tab and set turn the Interceptor off:
...
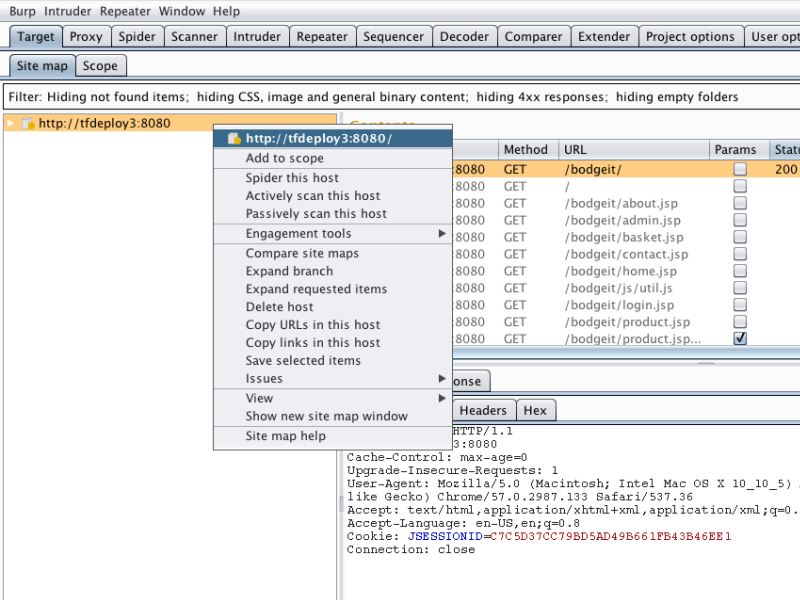
Navigate to the Target in Chrome, select the Target tab and then select the URL in Burp:

Run the Spider
Run the Actively scan this host
Run the Passively scan this host
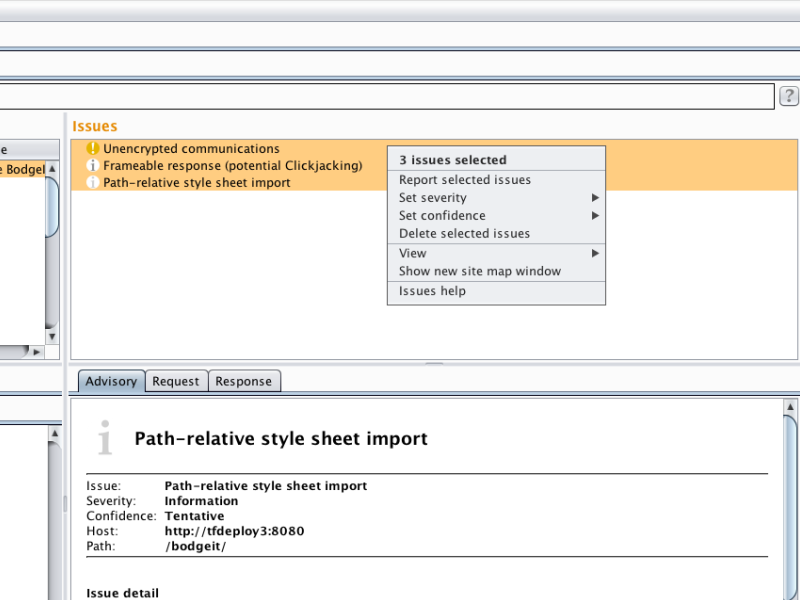
Select the findings in the Issues Pane and select Report selected issues:
...
Select XML for the report format and check the Base64 box below it:
...
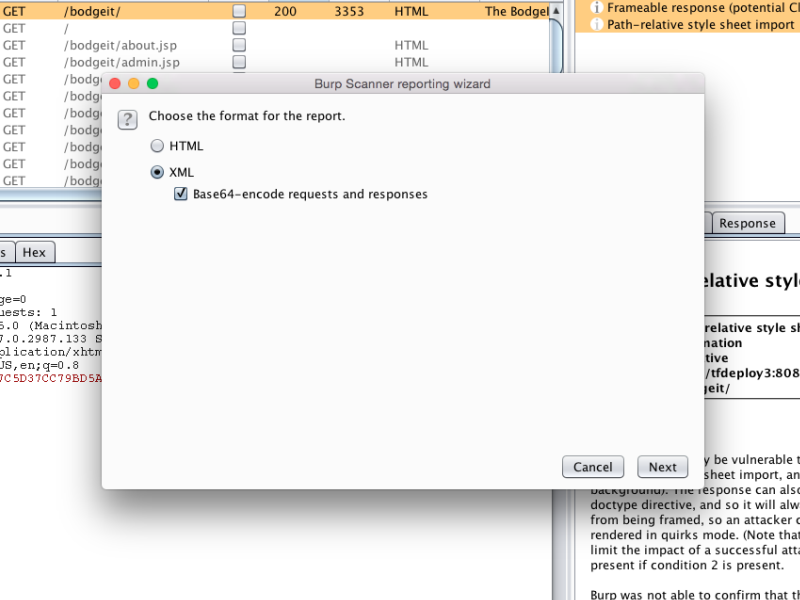
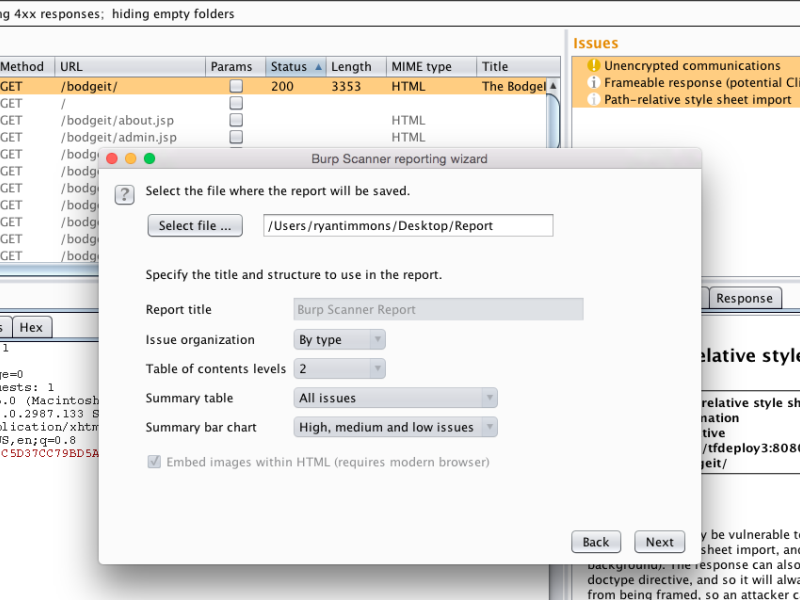
Select Next until the wizards asks to save the file and save it to the desired directory:
...
Upload Results
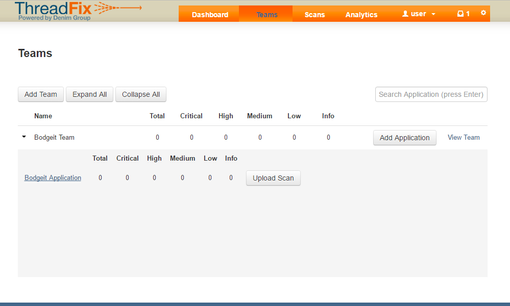
After generating the report, log in to ThreadFix and navigate to the Teams tab. Expand the Team that the report will be uploaded to:
...
After picking one of the Team's Application, select Upload Scan and drag the report into the Pane:
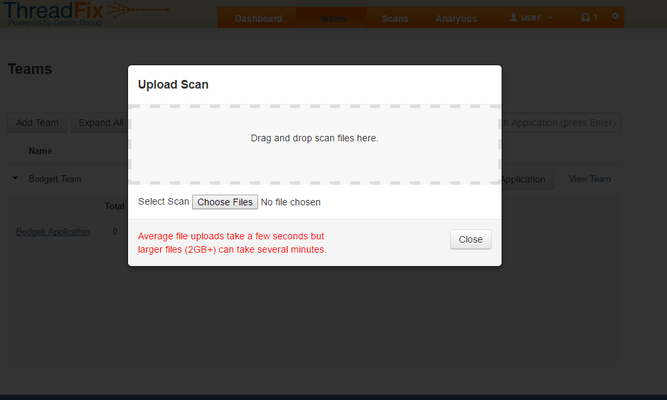
...
...

Table of Contents
| Table of Contents |
|---|